
Exposing Home Assistant to the world

This is the second post in a series of posts about Home Assistant and Alexa. In my previous post - Home Automation with Home Assistant and Alexa I discussed how to wire up your Raspberry Pi with the open source IOT platform Home Assistant to work with Alexa. This post will cover:
- Upgrading Hass.io to take advantage of the new
ADD-ON STORE - Adding DNS and port forwarding to make Home Assistant publicly accessible
Upgrade Hass.io
- Visit the Hassio Installation site to download the current Hass.io image.
- Once you flash the image onto your micro sd (from your computer) and boot up your Pi, it can take up to 20 minutes to get rocking.
- After a successful boot, you can visit: http://hassio.local:8123/ to get started and follow the onscreen instructions.
Add the SSH Server Add-On
- In order to make changes via SSH to your PI you will want to add the SSH Server add on
- To do this, while on your hassio dashboard click on the
Hass.ioicon in the mid-left-hand side panel - Then click on the
ADD-ON STOREand the select SSH Server and clickInstall - Follow the steps there to configure (you will need to create an SSH Key) and SSH into your Rasberry PI
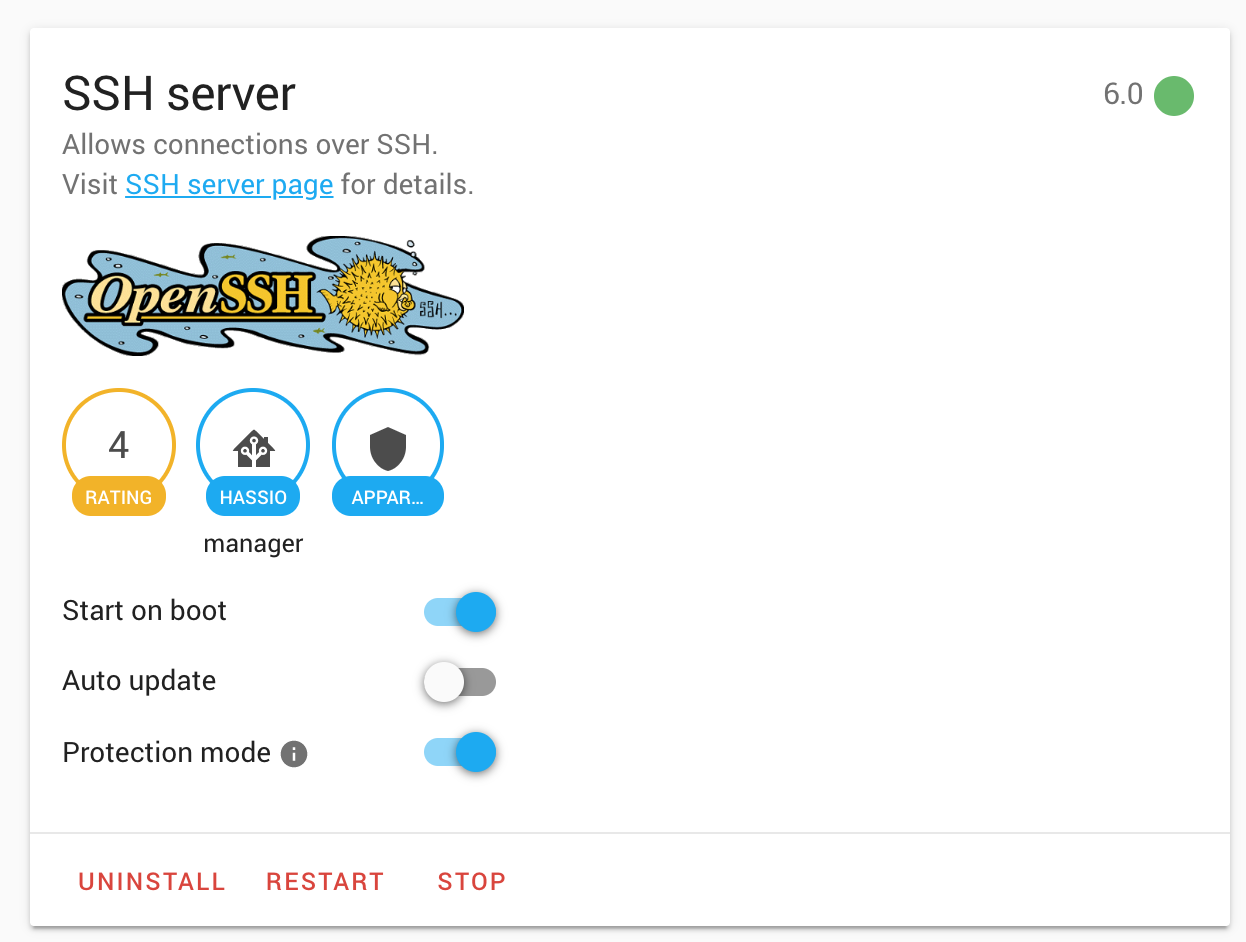
- If you have issues connecting make sure you have started the SSH server from the SSH Server details page (see image below)
- This piece must be completed before the DNS piece as this is needed to finish setting up DNS below
A few helpful commands
- To SSH into your pi:
ssh root@hassio.local(Home Assistant exists at/configdirectory) hassio helpwill list all of your commandshassio host reboot- reboot your pi
Add DNS
We will be using Duck DNS for our domain and Let's Encrypt for our certs. One of the main reasons I updated to the new Hass.io image is because the new version has anADD-ON STORE that includes a Duck DNS plugin with built-in Let's Encrypt support.
- To install, navigate to the
ADD-ON STOREagain and select the Duck DNS add-on and click install (this set-up refers to version1.8) - Update the configuration in the add-on to include your Duck DNS token, your domain(s) and set the
accept_termsto true. By setting this to true this is what will start generating your certs.
{
"lets_encrypt": {
"accept_terms": true,
"certfile": "fullchain.pem",
"keyfile": "privkey.pem"
},
"token": "<YOUR-TOKEN>",
"domains": [
"<YOUR-DOMAINS>"
],
"seconds": 300
}
```
* Then SSH into your PI and add the following to the `/config/configuration.yaml` file:
```
# Example configuration.yaml entry for the HTTP component
http:
base_url: https://example.duckdns.org:8123
ssl_certificate: /ssl/fullchain.pem
ssl_key: /ssl/privkey.pem
```

Reference article: [Effortless Encryption](https://www.home-assistant.io/blog/2017/09/27/effortless-encryption-with-lets-encrypt-and-duckdns/)
##### Last Step - Port forwarding
If you are using port 8123 you will need to configure port forwarding
* Login into your router and locate Port Forwarding sometimes called virtual server. You can use this website [port forward](https://portforward.com/) to locate your router and follow the instructions on how add forwarding
* Choose the port you specified in your configuration to forward
* You can test your port has been forwarded using a [Port Forwarding Tester](https://www.yougetsignal.com/tools/open-ports/)
######Navigate to your https://example.duckdns.org:8123 address and Woollahh!!**

---
####Shout Outs
* [Shane Henning](https://www.linkedin.com/in/shane-henning-1a6909a9/) for the inspiration